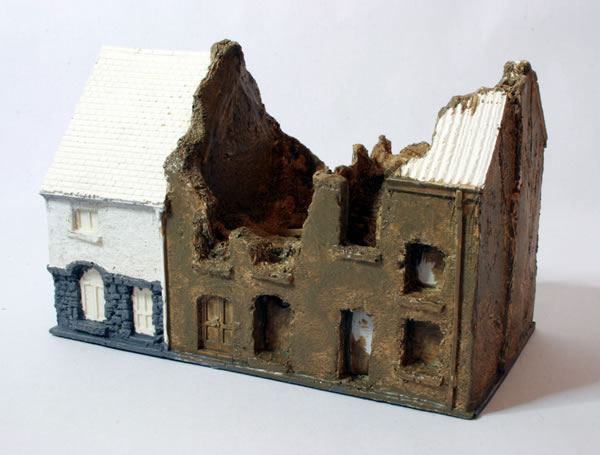
I already have two of the ruined buildings from the Total Battle Miniatures range of Western Europe 15mm buildings. I was lucky enough to get two more for my birthday from Simon, thank you. He gave me the ruined cafe and ruined shop with passage.
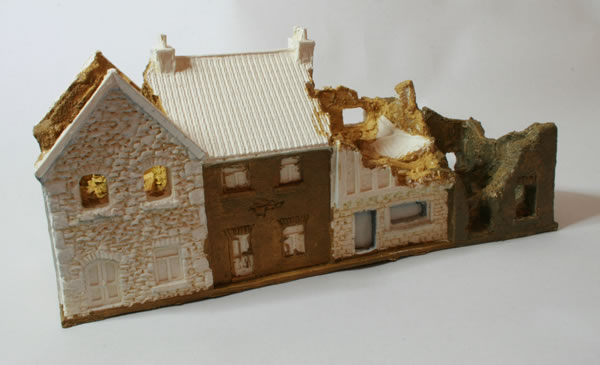
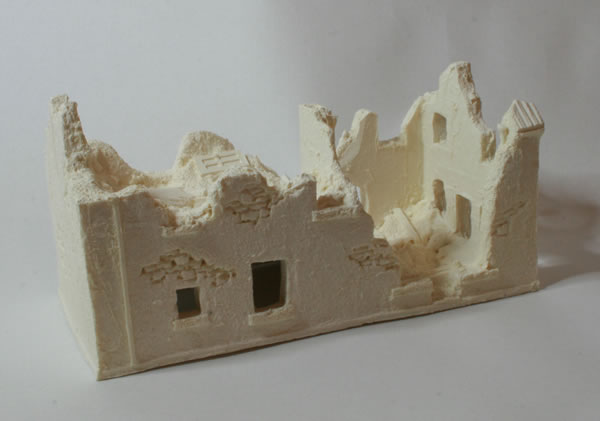
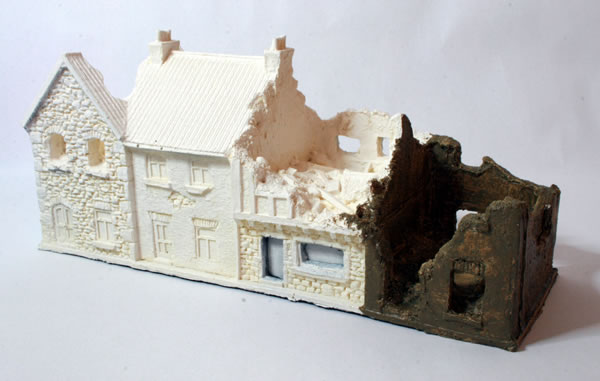
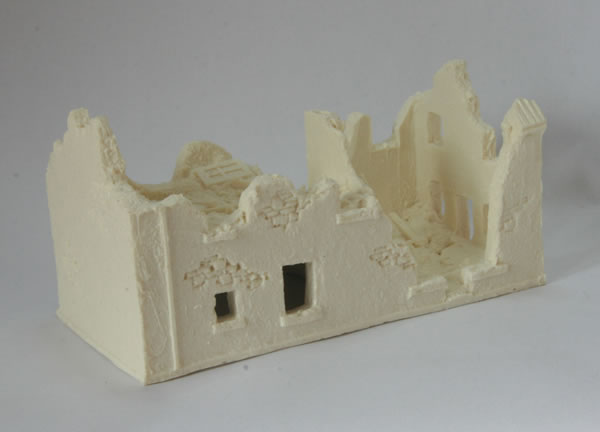
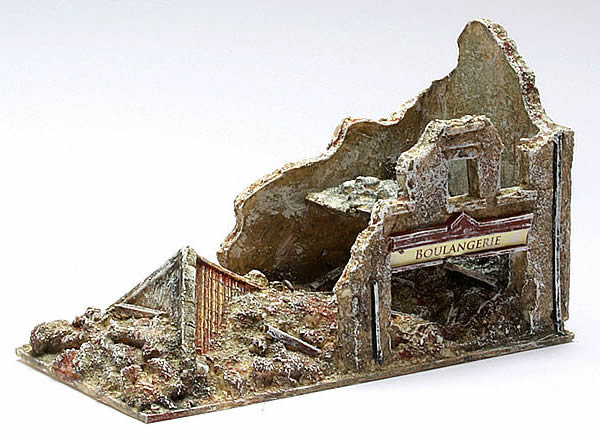
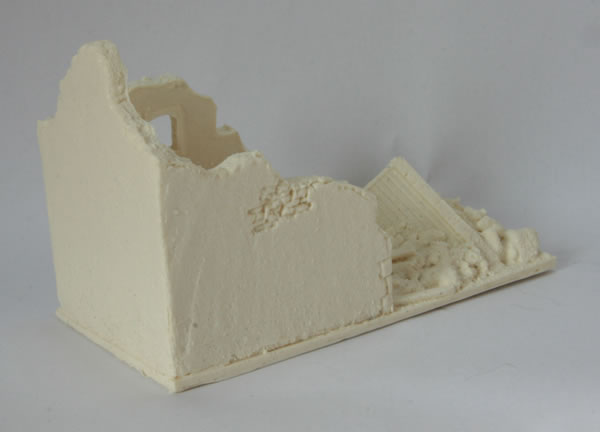
The ruined shop with passage is a nice model, though because it is ruined, you wouldn’t realise that there was a passage. This is the photograph from the manufacturer.

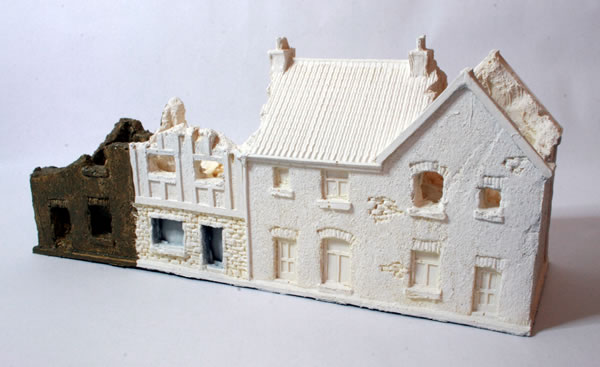
The reason of course is that Total Battle Miniatures range has both the complete building as well as the ruined building in their range.

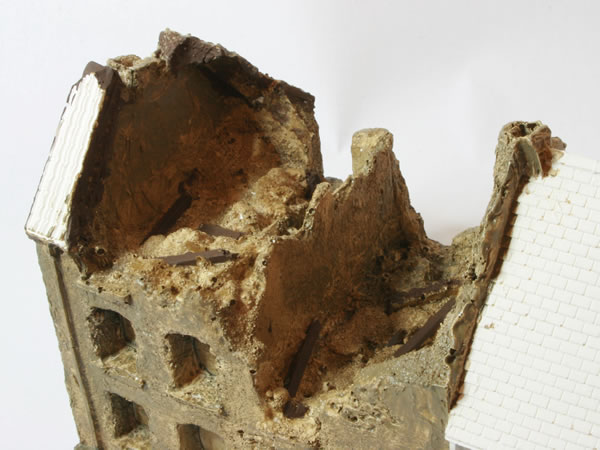
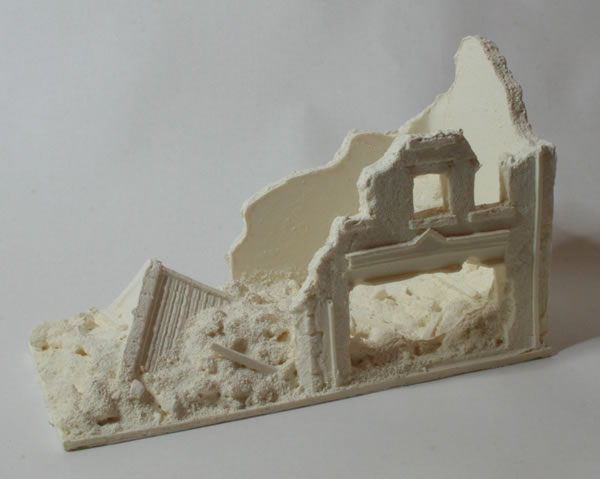
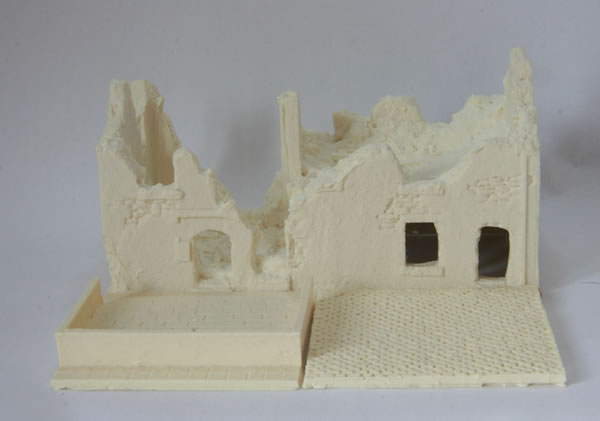
The model comes with a separate piece of floor, not sure if I will use it, or build a ruined floor using some scrap wood.
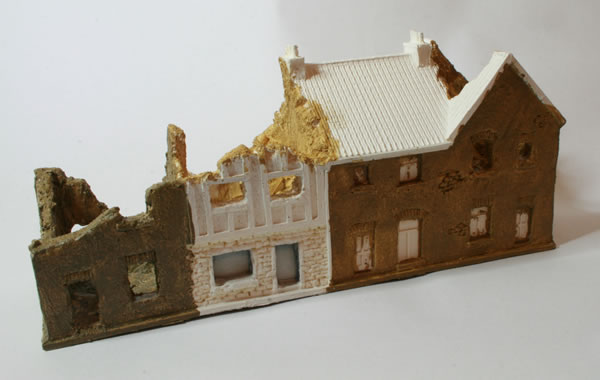
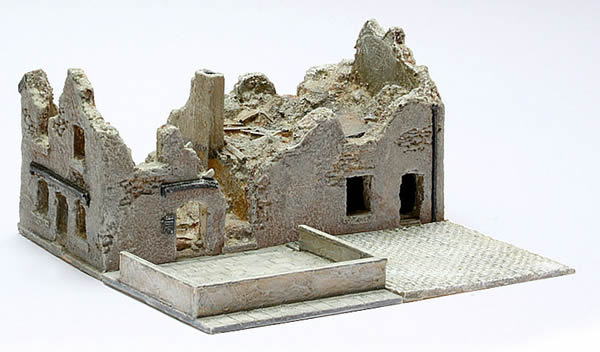
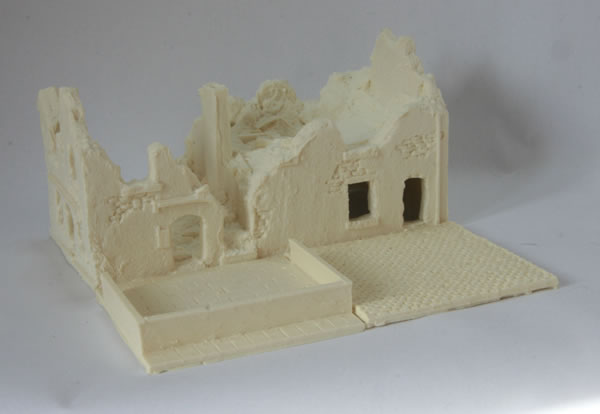
It’s a nice casting with clean detail and looks very effective. I will probably use a similar method to the one I used with the other ruins. After washing the resin I will give the model a white undercoat and then use a combination of washing and drybrushing to bring out the detail.
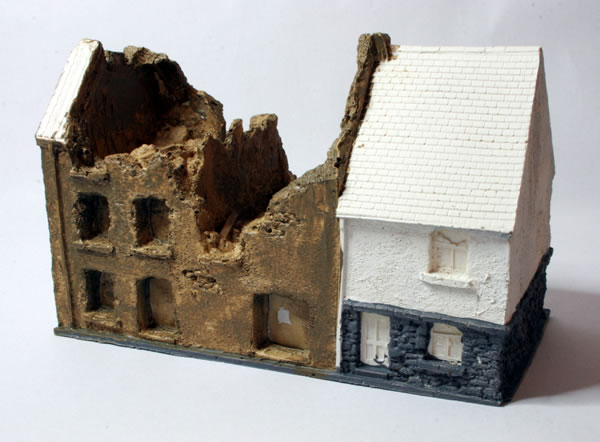
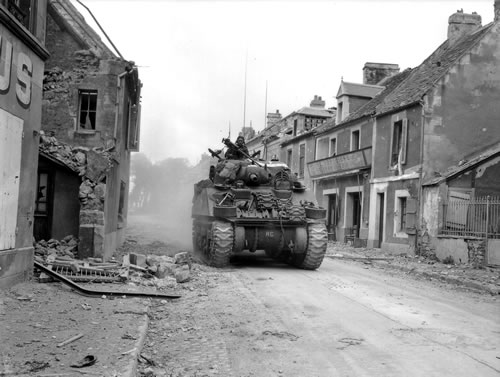
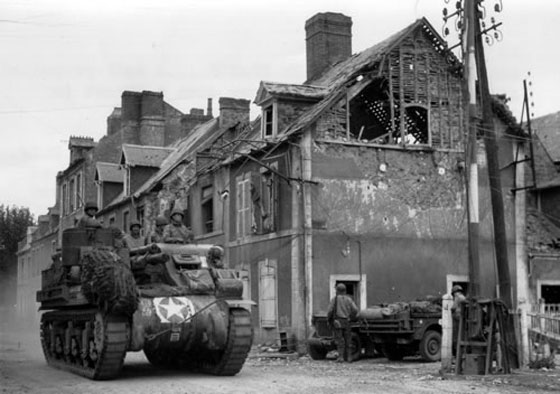
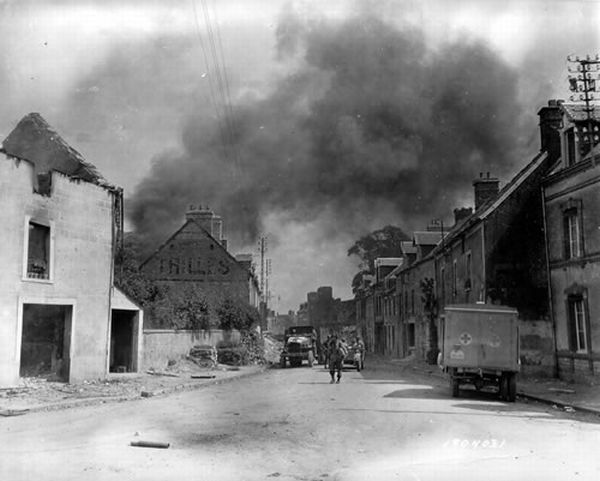
I now have four ruins, but I think I would like to get some non-ruined buildings to complement the ruins. From photographs of Normandy in 1944, you can see in some villages and towns, whilst some houses were ruined, alongside were others that didn’t even look damaged.